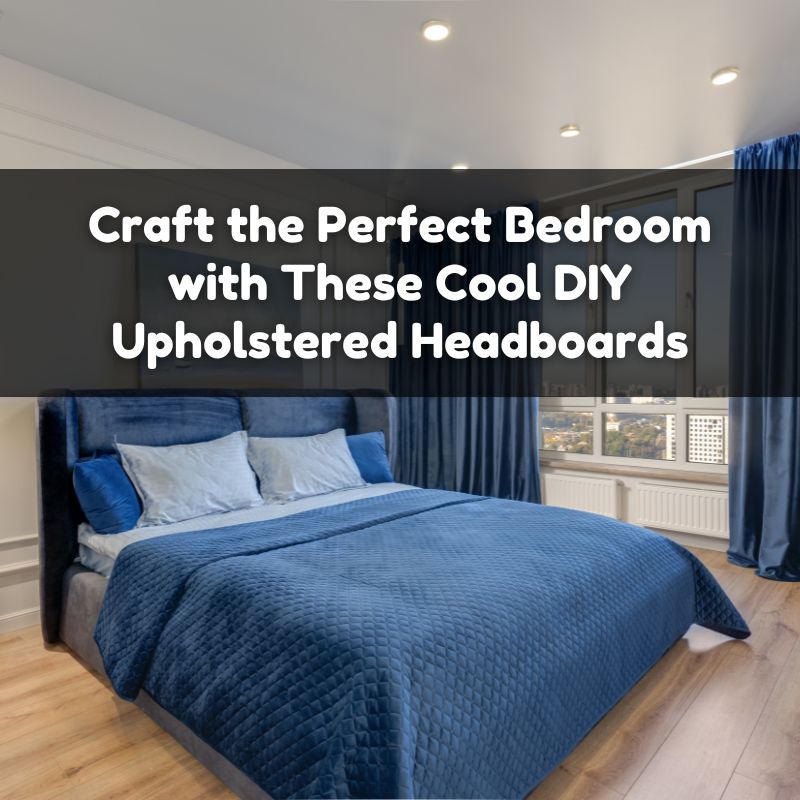
A well-designed headboard can transform the look and feel of your bedroom, adding a touch of style and comfort. Upholstered headboards are particularly popular for their luxurious and customizable appeal. If you’re looking to elevate your bedroom decor, creating a DIY upholstered headboard is a fantastic way to achieve a bespoke look while saving money. This guide will walk you through several cool DIY upholstered headboard ideas to help you craft the perfect bedroom centerpiece.
Materials and Tools You’ll Need
- Headboard Base
- MDF, plywood, or a pre-made headboard frame.
- Foam Padding
- Choose a thickness based on your comfort preference.
- Batting
- Used to cover the foam and create a smooth surface.
- Fabric
- Pick a durable and stylish fabric that complements your bedroom decor.
- Staple Gun and Staples
- For attaching the fabric and batting to the base.
- Scissors or Fabric Cutter
- For cutting fabric and batting.
- Measuring Tape
- To ensure accurate measurements.
- Fabric Adhesive or Spray Adhesive
- Optional, for securing the fabric to the foam.
- Nailhead Trim or Decorative Elements (Optional)
- For added style and detail.
- Screwdriver and Screws
- For mounting the headboard to the wall or bed frame.
Step-by-Step Instructions
- Choose Your DesignDecide on the design and style of your upholstered headboard. Consider the size of your bed, the height of the headboard, and any decorative elements you’d like to incorporate. Sketch your design or gather inspiration from home decor magazines or websites.
- Prepare the Base
- Cut the Base: If using MDF or plywood, cut it to the desired dimensions of your headboard. Ensure it’s slightly wider than your mattress for a balanced look.
- Pre-Made Frame: If using a pre-made headboard frame, make sure it fits the size of your bed.
- Add Foam Padding
- Cut Foam: Cut the foam padding to match the size of your headboard base. Use a serrated knife or electric knife for a clean cut.
- Attach Foam: Secure the foam to the base using fabric adhesive or spray adhesive. Press down firmly to ensure it sticks well.
- Cover with Batting
- Cut Batting: Cut a piece of batting large enough to wrap around the foam and base.
- Attach Batting: Stretch the batting over the foam and staple it to the back of the base. Smooth out any wrinkles as you go.
- Apply Fabric
- Cut Fabric: Cut your fabric to size, allowing extra material to wrap around the edges of the base.
- Attach Fabric: Place the fabric over the batting and foam, smoothing it out. Staple the fabric to the back of the base, pulling it tight to avoid wrinkles. Ensure the corners are neatly folded and secured.
- Add Decorative Elements
- Nailhead Trim: If using nailhead trim, press the trim into the fabric along the edges of the headboard. Hammer in the trim nails to secure.
- Buttons or Tufting: For a tufted look, attach buttons or tufting hardware at regular intervals. Use a needle and thread to sew the buttons through the foam and fabric.
- Mount the Headboard
- Attach to Wall: If mounting the headboard to the wall, use appropriate wall anchors and screws to secure it.
- Attach to Bed Frame: If attaching to the bed frame, align it with the frame’s pre-drilled holes and secure with screws.
- Final Touches
- Inspect: Check for any loose fabric or uneven areas and make adjustments as needed.
- Clean Up: Trim any excess fabric or batting and remove any visible staples.
Tips for Success
- Measure Twice, Cut Once: Accurate measurements are crucial for a well-fitting headboard.
- Choose Quality Materials: Invest in high-quality fabric and foam for durability and comfort.
- Take Your Time: Don’t rush the stapling or fabric placement to ensure a smooth and polished finish.
- Use Fabric Samples: Request fabric swatches before purchasing to ensure the color and texture match your decor.
Conclusion
Creating a DIY upholstered headboard is a rewarding project that allows you to add a personal touch to your bedroom decor. By following these steps and tips, you can craft a stylish and comfortable headboard that enhances your bedroom’s aesthetic. Embrace your creativity, experiment with different fabrics and designs, and enjoy the process of making your own chic upholstered headboard!
